#Labocosmetica 3ph wash
I’m sure many of you who follow my social media pages will have noticed an increase in #Labocosmetica products being used during my detailing treatments. The reason for this is simple, they’re the best products I have ever used. I switched to them on my return to work after the first lockdown, having read about them in an issue of Pro Detailer Magazine, and I can whole heartedly recommend more or less everything in their range. A particular favorite set of chemicals they produce form the so called 3pH Maintenance Program. I want you to see this article as more of a guide of what to use and why, so grab yourself a brew and read on…
The 3 main chemicals required to carry out a true 3pH wash.
So first up you’ll need to know which products to use, which I’ll detail below, and then I’ll explain how to use them.
Products:
- #Labocosmetica Primus - a >7pH alkali based pre-wash (spray, or foam depending on dilution) which removes organic grime such as dirt, grease, road salt etc. This has some real cleaning power, and is highly effective at removing traffic film.
- #Labocosmetica Purifica- a <7pH acidic based pre-wash (spray, or foam depending on dilution which removes inorganic dirt such as limescale and mineral deposits. It also has rejuvenation properties which help revive the protection.
- #Labocosmetica Revitax - a ph Neutral revitalising shampoo which mechanically removes whatever dirt is left on the vehicle following the pre-wash process. This shampoo has protection properties which restore the water repellency of your paintwork. Recommended for use every 4th or 5th wash.
- #Labocosmetica Semper - an alternative pH Neutral shampoo which contains no protection additives. A pure shampoo, recommended for regular use.
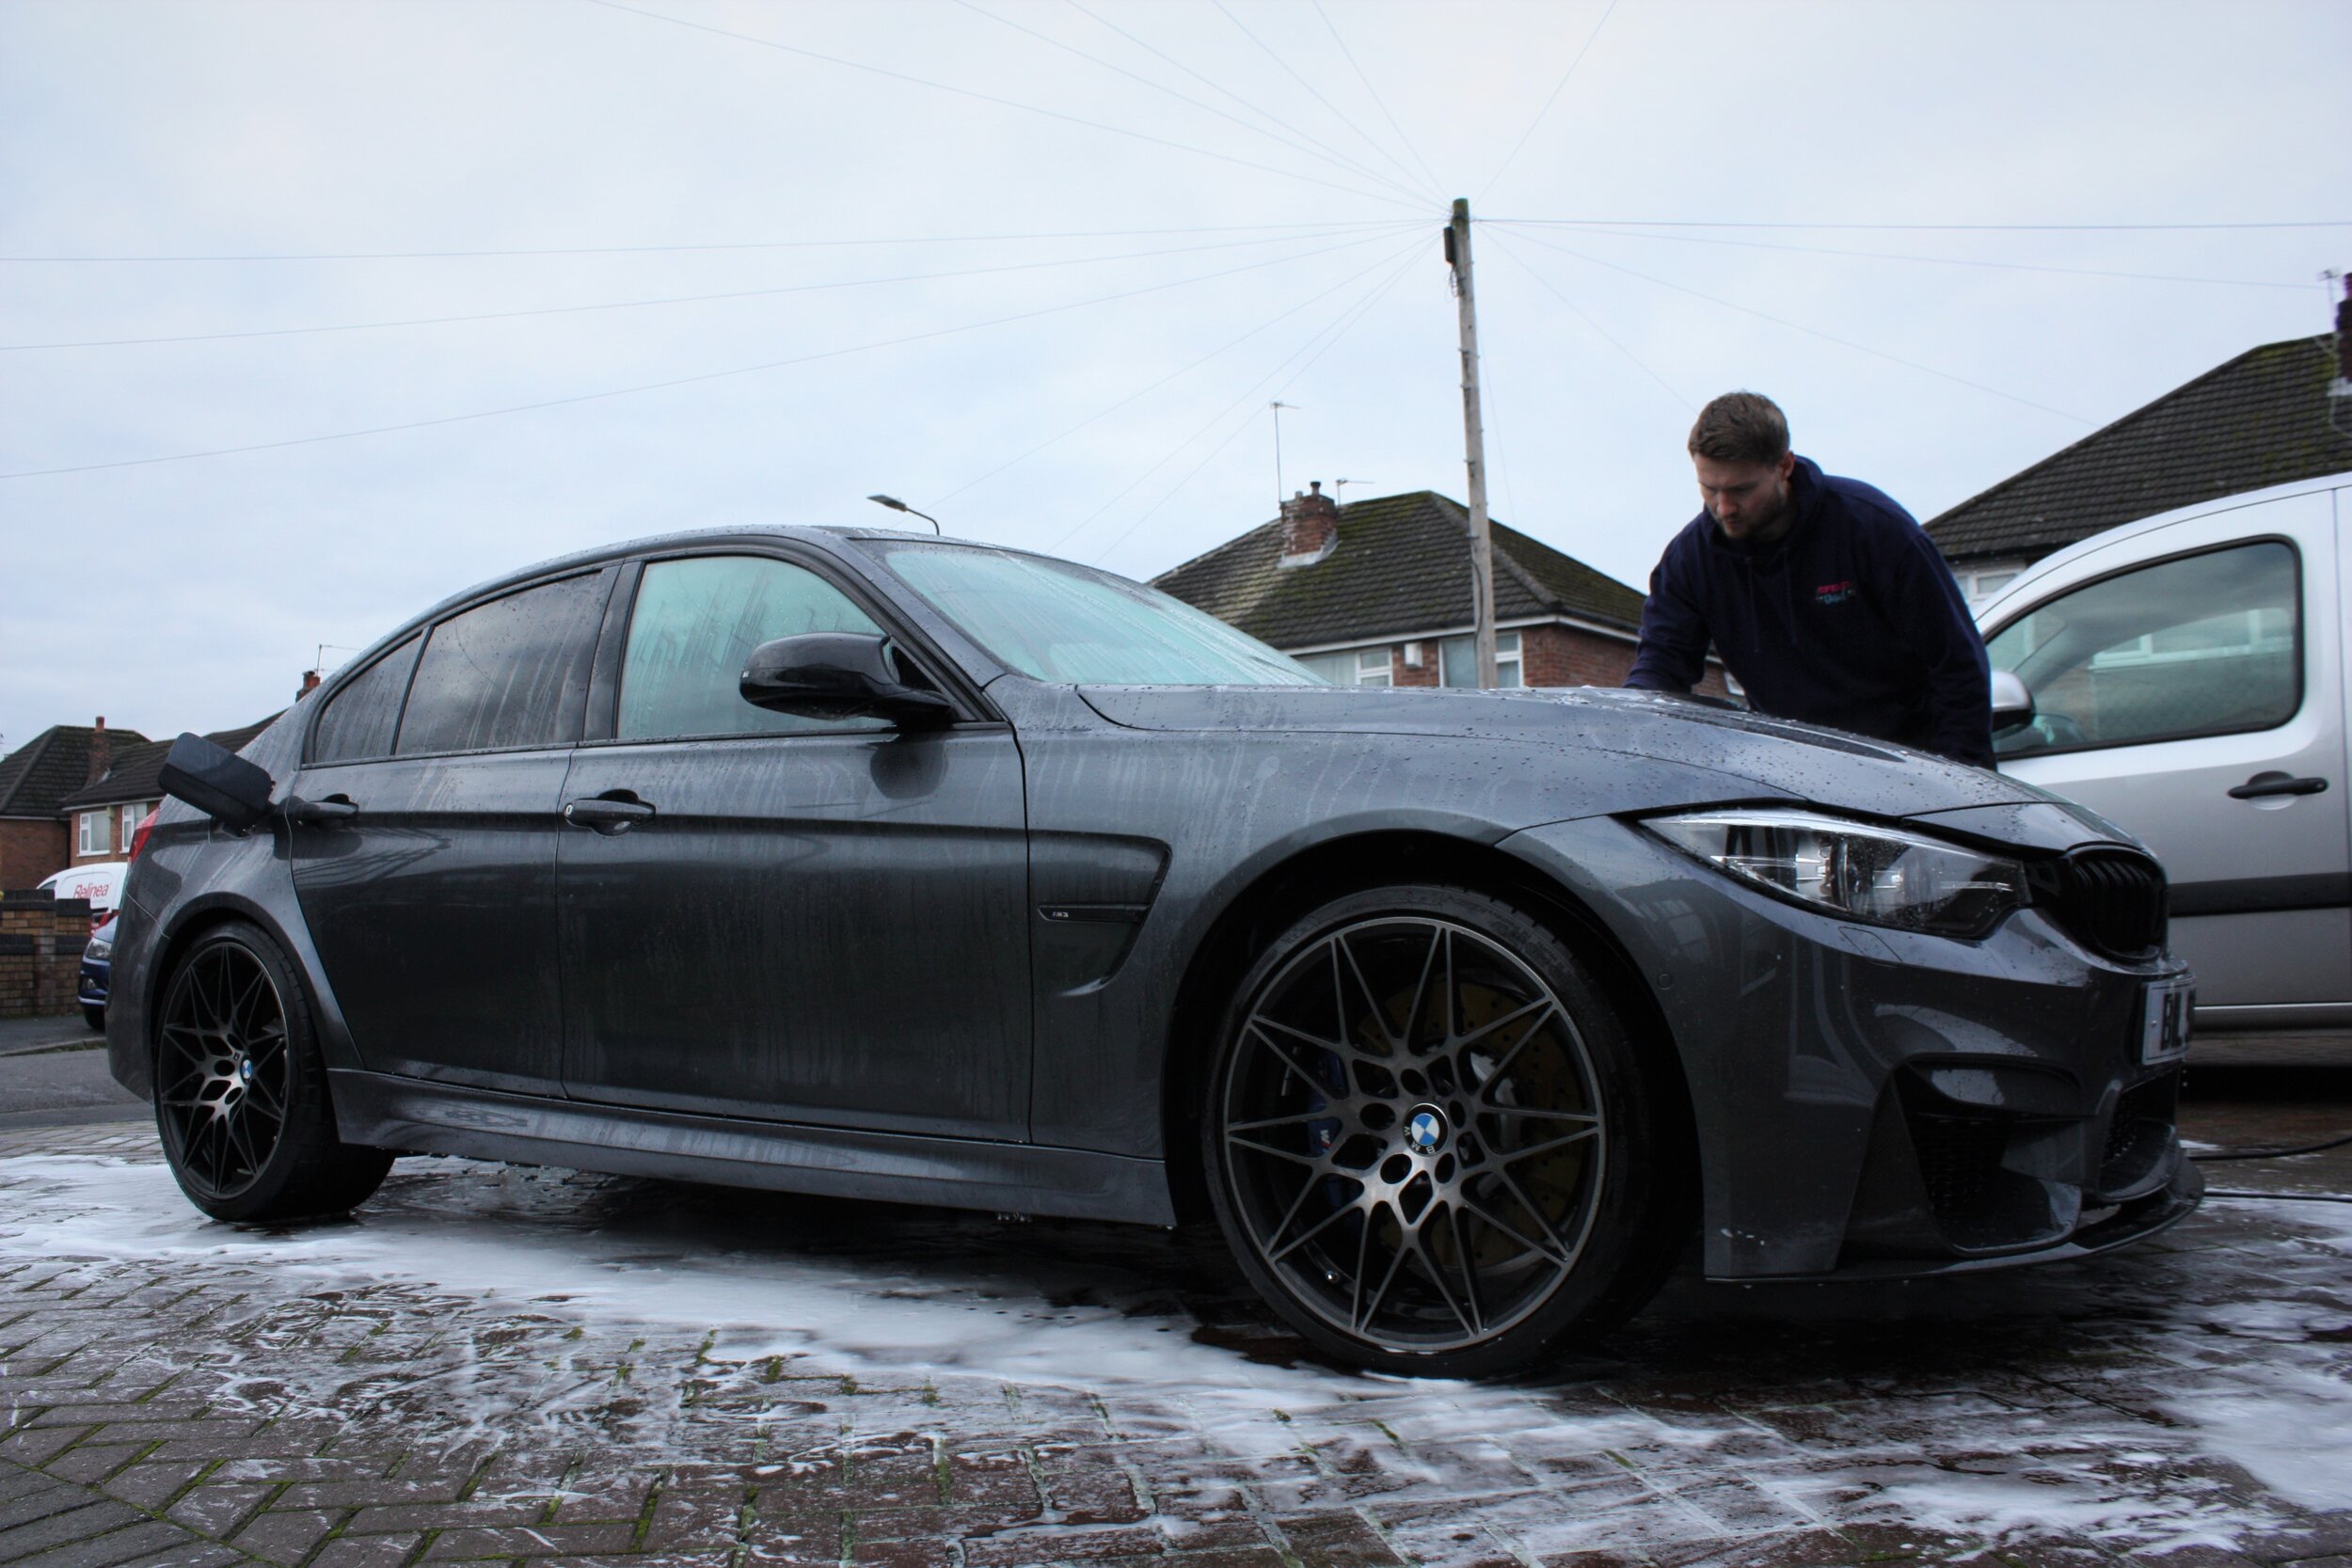
Something else we’ll need is a dirty car, and what better than a BMW M3 Competition like the one below?
A relatively mucky BMW M3 Competition - with a pre-existing ceramic coating applied >2yrs ago.
Now we have our dirty demo car, lets get stuck in and start learning about all of these products with their different names and all of those #hashtags. The preliminary stage is to start preparing your products. It’s vitally important to get the dilution ratios bang on, after all, we’re stepping away from our usual pH Neutral safety net and we’re now dealing with some chemicals which could damage your paintwork if you get it wrong. Don’t worry, Mafre (#Labocosmetica’s parent company) have you covered as they also manufacture bottles with a very clear and easy to use dilution guide; so you can’t really get it wrong.
Stage 1 - Primus pre-wash.
The first step in the 3pH wash process is to dilute some Primus into a spray bottle, diluted to 20:1 (water/product), and soak the lower 1/3rd of the car. This is because the lower part of the car always contains the most contamination, so we need something which will help cut through the grime and start breaking it down. Once you’ve gone around the car, start back at the beginning with a Primus snow foam, diluted at between 60-80:1, and foam the entire car.
Primus being sprayed onto the lower parts of the car @ 15:1
Primus snow foam @ 60:1
With the snow foam soaking in and working its magic, literally, you should consider treating the wheels and arches - if they’re heavily soiled, use a more concentrated Primus diluted to 10:1. This will help shift even the most stubborn of dirt.
Primus diluted to 10:1 is very effective for wheel and arch cleaning.
By now you should have a car which already looks half decent, or a cold brew! After rinsing, the majority of the organic dirt and road grime will have been removed, or at least, significantly softened which will make it easier to remove during the later stages of this process. For some tips on effective wheel cleaning, check out our biscuit blog.
Stage 2 - Purifica pre-wash.
The second step in the process is to dilute some Purifica into a spray bottle, diluted down to 15:1 (water/product), and again soak the lower 1/3rd of the car. This is the first step towards rejuvenating the protection, as the alkali based Primus usually leaves the paintwork devoid of any visible beading. The idea behind Purifica is that it removes any limescale and mineral deposits which can often hamper ceramic coating performance by clogging the surface. Like you did with the Primus, start back at the beginning with a Purifica snow foam diluted to 60:1 and foam the whole car again, this time paying particular attention to panel gaps, door shuts etc.
Purifica soaking the lower 1/3rd of the car to begin the rejuvenation process.
It’s important to pay particular attention to panel gaps if you want a true HD finish.
You’re probably wondering if and when we actually touch the car by now. Well, don’t worry, the mechanical wash comes next. By now the car should be mostly clean, which is important in the reduction of swirl marks and fine scratches associated with washing.
Stage 3 - Revitax / Semper pH Neutral shampoo.
The third and final step in the process is to carry out the actual wash. After two pre-wash rounds you’ll be eager to get washing. It’s always best practice to use the two-bucket method. Dilute the Semper shampoo to 1000:1 in a 5ltr bucket. I always use hot water, as it will also help remove any remaining contamination. The Revitax shampoo I used in this demo has added protection and gloss enhancing properties - this should be used once every 4 or 5 washes at a higher concentration of 100:1.
I use a Korean Wash Pad by The Rag Company during routine washing.
With the car fully cleaned, it’s time to get it dried and apply some finishing touches. I recommend a combination of towel drying using plush jumbo microfibre drying towel, and also a Blow-R hot air dryer which is ideal for getting into all the nooks and crannies to blow the water out. At this stage it’s optional, but I also prefer to dry using Perfecta quick detailer as it helps reduce streaks to a minimum and will not cause any detrimental effects to the protection, if anything it helps add a sacrificial barrier to last until your next wash.
Drying with Perfecta is a great way to reduce streaks whilst adding a sacrificial barrier of protection.
Congratulations! You’ve now completed your first #Labocosmetica 3pH wash. Dress the tyres, clean the glass, and you’ll have a car that’s never looked so clean. Whilst I appreciate using chemicals of varying pH’s which stray away from the industry ‘norm’ can be a little unnerving, the results you can achieve from this advanced wash far exceed that possible by simply using neutral products alone. This whole process is particularly effective for cleaning cars with pre-existing ceramic coatings, which can become clogged over time. It’s a great way to purify and cleanse the coatings., restoring gloss and protection. Now all that’s left to do, is stand back and admire your handy work.
The candy gloss of #Labocosmetica
#Labocosmetica 3pH wash process complete.
I hope you enjoyed this article, and if you want to see this process in action then check out our YouTube video below.
Make sure you keep up to date with all of our social media pages, don’t forget to like, share, and follow our work.


